Step-by-Step Installation Guide
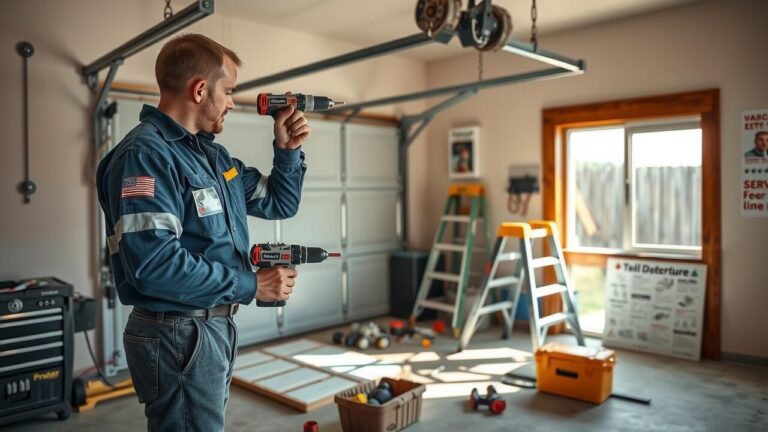
Installing safety sensors on an old garage door can significantly enhance its functionality and security. Begin by gathering the necessary tools and materials, including the safety sensor kit, a drill, screws, and a level. Start the installation process by identifying the best location for the sensors on either side of the garage door, ideally near the bottom, where they will be able to detect obstructions effectively. Make sure the areas are clear from any debris or obstacles that could interfere with the sensor’s performance.
Once you have chosen the location, mount the sensors according to the manufacturer’s instructions. It’s crucial to ensure that both sensors are aligned properly to communicate with each other. After securing the sensors, connect their wiring to the garage door opener, following the guide provided in the kit. Complete the process by testing the system to confirm that it is functioning as intended. This Step-by-Step Installation Guide ensures that your Garage Door Safety Sensor Installation in San Bernardino, California, is thorough and effective.
Preparing Your Garage Door
Before beginning the installation of safety sensors, it’s essential to prepare your garage door properly. First, inspect the door for any signs of wear or damage. Check the tracks for debris, ensure that the rollers move smoothly, and confirm that the door opens and closes without obstruction. Addressing any issues with your garage door will lead to a more effective integration of the safety sensors.
Once you’ve assessed the overall condition of your garage door, gather the necessary tools and the safety sensors you plan to install. If you are in San Bernardino, California, ensure that the sensors comply with local regulations and standards. Follow the manufacturer’s instructions closely for the specific sensors you’re using. A good setup will improve safety and functionality, providing peace of mind for you and your family.
Testing Safety Sensors After Installation
Once you complete the installation of the safety sensors, it’s crucial to test them to ensure they function properly. Begin by closing the garage door and then obstructing the sensor path with an object, such as a piece of cardboard or a broomstick. The garage door should reverse immediately upon detecting the obstacle, confirming that the safety sensors are working as designed. If the door does not reverse, check the alignment and positioning of the sensors.
After verifying the initial functionality, you should perform additional tests to assess the sensors’ reliability. Clear the obstruction and allow the door to close fully again. Repeat the blocking process several times to ensure consistent performance. For those in San Bernardino, California, understanding the nuances of Garage Door Safety Sensor Installation can significantly enhance the safety of your garage door. Regular testing will help in identifying any potential malfunctions early on, ensuring that your safety measures are always in place.
Ensuring Proper Functionality
To ensure proper functionality of your newly installed safety sensors, it is essential to conduct thorough tests right after installation. Begin by closing the garage door with a remote. An operational sensor will reverse the door if something obstructs its path. This test should be repeated several times to confirm consistent response. Any failure during this test may indicate a misalignment or a faulty sensor that requires immediate attention.
Regular maintenance is critical for the longevity of your safety sensors. Keep the sensor lenses clean and free from obstructions such as dust, dirt, or cobwebs. Position the sensors at the recommended height, typically four to six inches above the ground. For residents considering Garage Door Safety Sensor Installation in San Bernardino, California, adhering to these guidelines ensures optimal performance and safety for your garage door system.
Common Issues with Safety Sensors
Safety sensors can sometimes encounter issues that may affect their performance. Misalignment is a common problem. When sensors are not properly aligned, the garage door may not close correctly. This can lead to safety concerns and inconvenience. Dust, dirt, or debris can also obstruct the sensor’s path, preventing it from detecting any objects or obstacles. Regular cleaning and inspection of the sensors is important for maintaining functionality.
Another common issue is electrical interference, which can disrupt the signal between sensors. Wiring problems such as frayed wires or loose connections might lead to malfunction. To ensure reliable performance after Garage Door Safety Sensor Installation in San Bernardino, California, it is essential to check all wiring and connections. If problems persist, consulting a professional may be necessary to identify and resolve complex issues.
Troubleshooting Tips
If the safety sensors on your garage door are not functioning as expected, start by inspecting the alignment. Misalignment can often prevent the sensors from communicating effectively. Make sure the sensors face each other directly and are free from obstruction. Dust, dirt, or debris can hinder their performance, so consider cleaning the lenses with a soft cloth.
Next, check the wiring connections to ensure there are no loose or frayed wires. Damaged wiring may inhibit the sensors from receiving power or sending signals properly. If you’ve recently completed a Garage Door Safety Sensor Installation in San Bernardino, California, double-check all connections made during the process. Sometimes, a simple reset of the system can resolve minor issues, so unplugging the opener for a few moments may help restore functionality.
FAQS
Can I install safety sensors on any old garage door?
Most old garage doors can be fitted with safety sensors, but compatibility may vary depending on the door’s design and existing hardware. It’s best to consult with a professional or check the manufacturer’s guidelines for your specific door model.
What tools do I need to install safety sensors on my garage door?
Common tools required for installing safety sensors include a screwdriver, a drill, wire strippers, and a level. You may also need a measuring tape for proper placement of the sensors.
How do I know if my safety sensors are working correctly?
To test your safety sensors, close the garage door with the remote and then place an object in the path of the closing door. If the door stops and reverses, the sensors are functioning properly.
What should I do if my safety sensors are not working?
If your safety sensors aren’t working, first check for any obstructions blocking the sensors. Ensure they are aligned properly and clean from dust or debris. If issues persist, consult the troubleshooting tips in the article or seek professional assistance.
Are safety sensors mandatory for garage doors?
While safety sensors are not legally required in all areas, they are strongly recommended for safety reasons. Many local building codes may require them for new installations or major renovations. Always check your local regulations for compliance.